Service Orders via SI 2018 – How to serve your clients best
Even in today’s “hi-tech” world of wizardry, one of the areas of concern and attention is still that of the “service order” and how best to approach the overall process. Should it be one that is client driven – say via a “portal” or “ticketing” mechanism? Should it be internally driven, responding to your client’s request upon the receipt of an email, phone call, or voice mail?
Both options have their benefits but, while it is nice for clients to have access to a system that generates a “response” from an automated mechanism, most clients would agree that interaction with a solution’s provider when there is trouble, is preferred. Even if you are forced to tell them that you can’t get to their “emergency” immediately, you have at least reassured them that their request has been acknowledged and will be addressed accordingly. Believe me, from my more than 20 years’ experience in the AV Integration sector, this goes a long way in the customer relations area.
So what does this process look like in SI 2018 and how can you leverage it to your advantage to make sure that you best serve your client as well as create an internal record that is easy for your team to track? Let’s take a look, shall we…
The Client Explorer
First and foremost, you need to be familiar with the Client Explorer within SI 2018. As this the first step in the Service Order process to ensure that you have all correct and up to date contact information including but not limited to name, site address, billing address, contact numbers, and email address just to name a few.
For those of you new to SI, you can access the Client explore via these 3 methods:
- From the Home Page of SI – the Client Explorer can be accessed from the “People” section of the top row of icons: only available on the Home Page

2. From the “Start” button, drop-down menu in the top left corner of SI: available throughout SI excluding actual SI projects
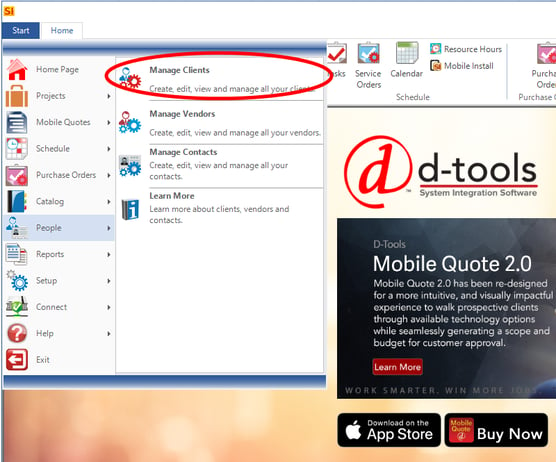
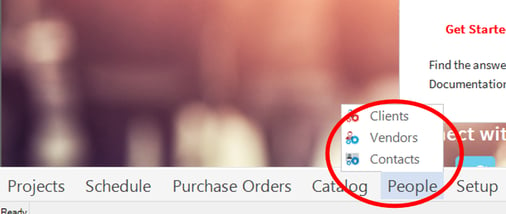
3. And also from the Quick Access menu across the bottom of the software: available throughout SI excluding actual SI projects
Once you get to the Client Explorer, you will see something very similar to this:
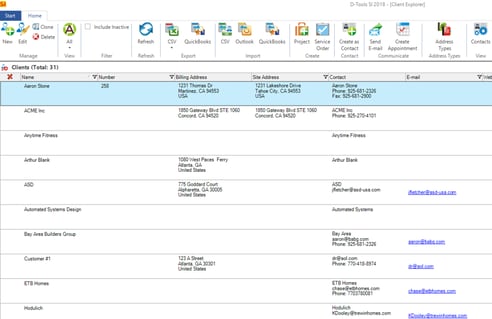
You’ll just need to make sure you get all of the client’s details entered, either by creating a “new” client, updating an existing client, or importing the client’s information form 1 of 3 options (CSV, Outlook, or Quickbooks).
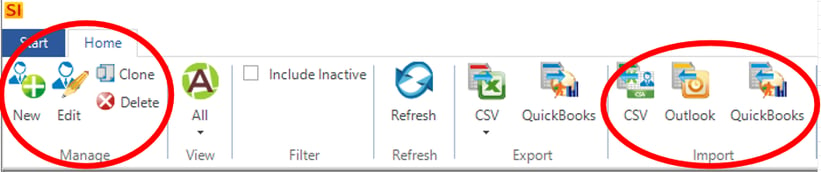
This is important because, while SI Service Orders do not require an SI Project, they do require an SI Client. So, if the service call is for an existing client and you have all up to date info, then you’re ready to issue that Service Order. Otherwise, update the client and then proceed.
First, well start with accessing the Service Order Explorer. How you navigate to this area of SI could depend upon your position within your organization so we’ll review all the options:
- From the SI Home Page:

- From the “Start” button, drop-down menu:

3. From the Quick Access menu across the bottom of the software:
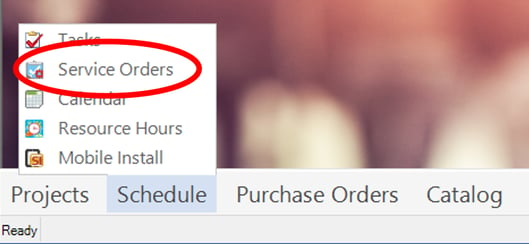
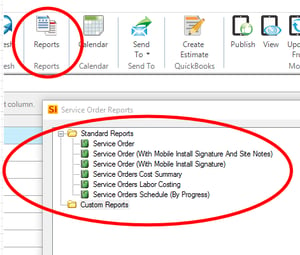
No matter how you get there, you can expect to see this in your SI screen:
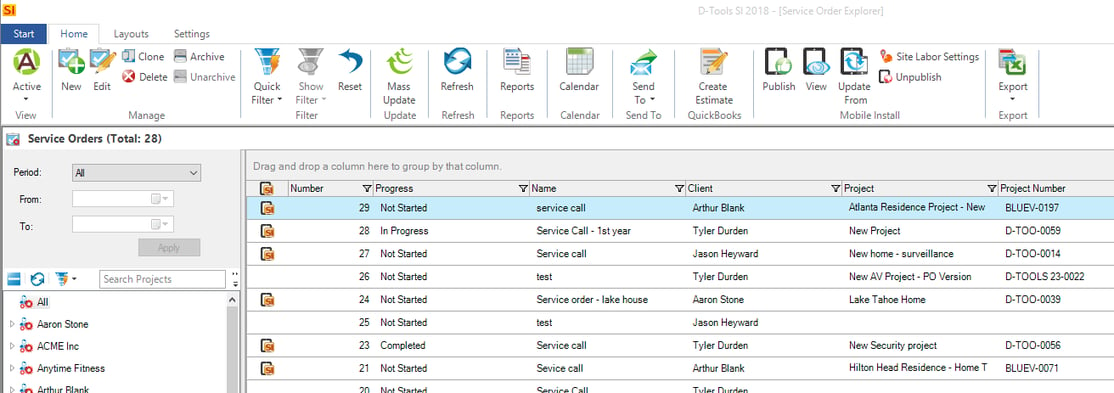
Right away you’ll notice many important and key features across the top row. Here are just a few highlights before we dive into creating a Service Order:
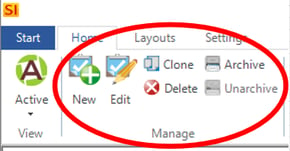
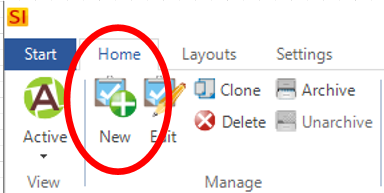
- In the Manage section – you can create new Service Orders, edit and clone existing ones, as well as archive older ones.
- You can also run Various Service Order reports.
- Some of the Scheduling features include Calendar access that will integrate your Service Orders with scheduled Tasks, a “Send To” feature to launch an email directly from within SI, as well as a link to “Publish” the Service Order out to the Mobile Install platform (for those of you using that for your field techs).
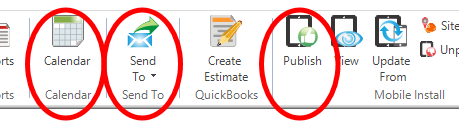
- And for Quickbooks’ users, there is also a link to send the Service Order over as an estimate so (once completes) it can be invoiced.

Now that all that is established, let’s create a Service Order!
First, click the “New” icon in the Manage section of the Home tab in the top row of the Service Order Explorer:
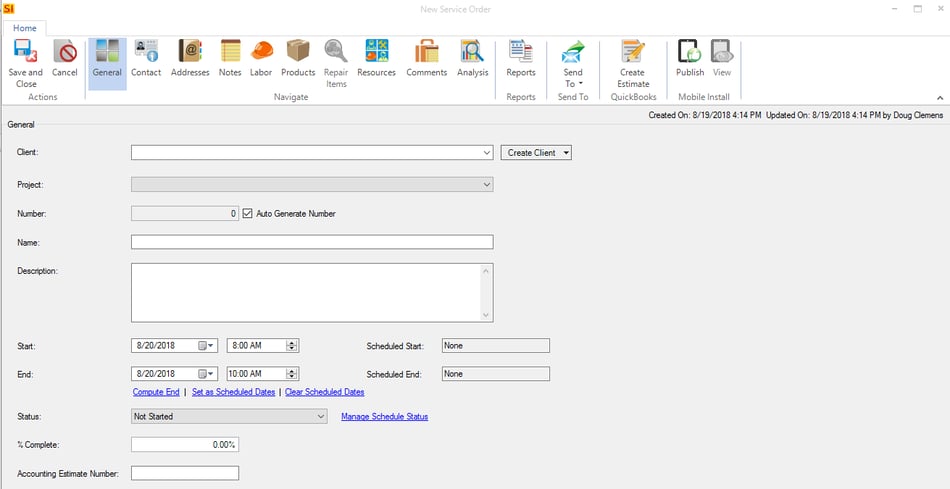
Then, the New Service Order editor will open to reveal this:
Now, for our example here, we’ll proceed just like we’re creating an SI Task by filling in the data field blanks and reviewing the available icons across the top row.
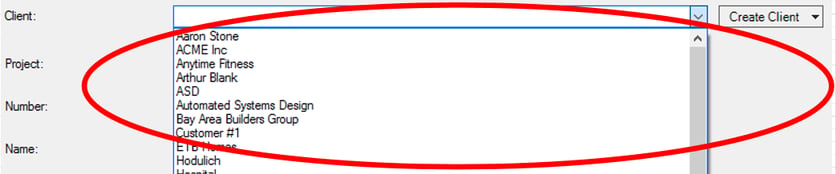
First, select the client from the drop-down arrow that is in the far right of the empty Client data field –
Next, (if not a new client) you can select a prior Project from the drop-down area associated with that client’s projects –

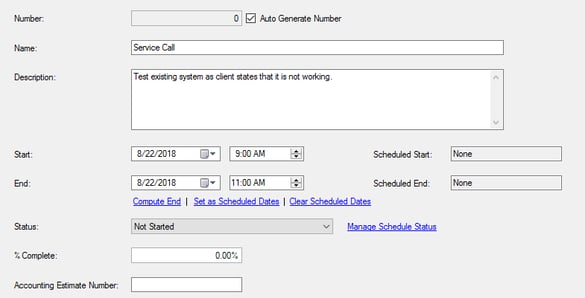
Now you’re ready to populate items such as the Service Order number (auto-generated if checked), the name of the service call, a description to the nature of the service call, and start and end times for the service call appointment. (Note – Status and % Complete can be manually updated here or automatically updated via the SI Mobile Install platform. The Accounting Number will be updated automatically via Quickbooks when the completed Service Order is transmitted there.)
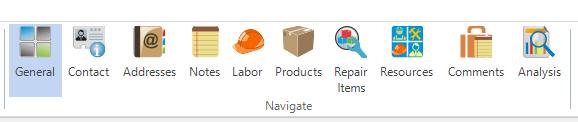
From here, it’s simply a matter of progressing across the top row of icons and filing in the appropriate blank data fields –

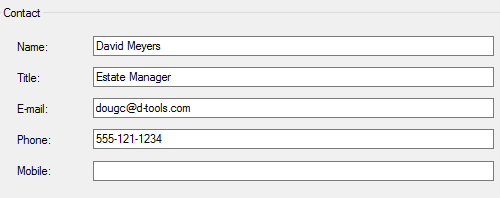
- Contact – should be populated from the Client’s information in the Client Explorer but if not, you can update it here.
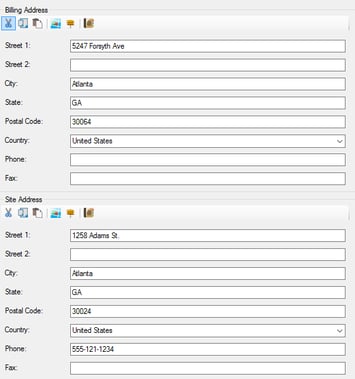
- Address – Same as the Contact but does include separate Site and Billing address fields so just review and update if necessary.
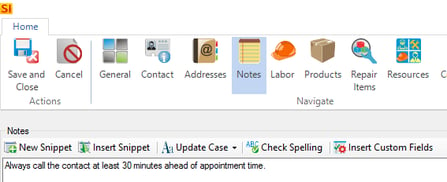
- Notes – Just like other areas of the SI platform, the Notes field is a wide-open, blank slate for you to populate any related details for your team. “Snippets” can also be used here for convenience.
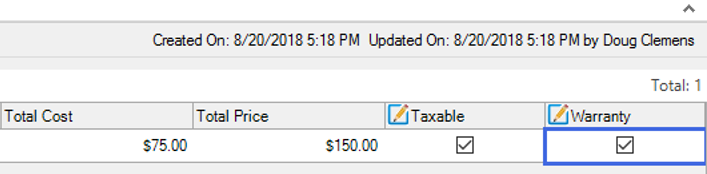
- Labor – This is where you can add appropriate Labor Items to the Service Order. Simply click the “add” button and select your labor.
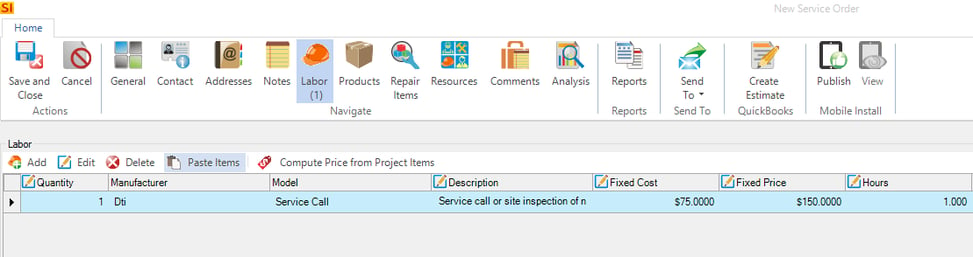
- Note -The nice thing about this (as well as any Product items added to a Service Order) is that it can be marked “Warranty” and no cost value will be associated.
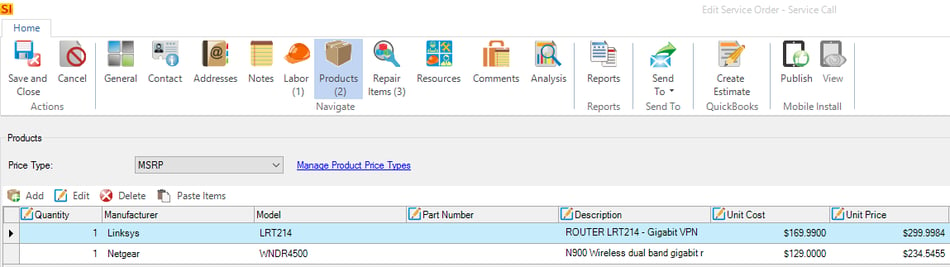
- Products – This tab allows for a unique application whereby a Product can be added to the Service Order from your stock to go along with the technician (or perhaps on the be-back trip).
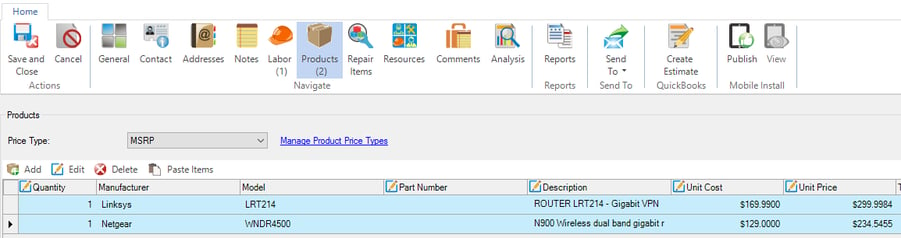
- Again, here you just click the “Add” button to put any Products on the Service Order. Note – Remember, Products added here can also be marked as Warranty and no cost will be added.
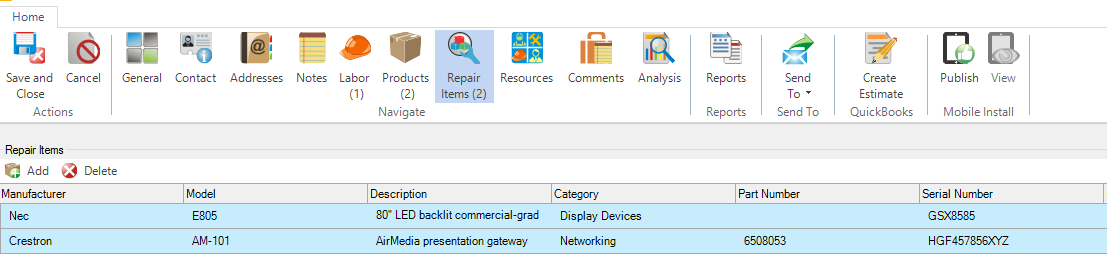
- Repair Items – This tab is only applicable when you are visiting a Client with a prior Project in SI. If this is the case, you can select any item to tag as the repair item.
Notice here that any Serial Number entered in the Project or Mobile Install platform is readily available.
- Resources – Hey it’s not always fair but someone has to do the work right? So just click the “Assign” button and select the appropriate team member(s).
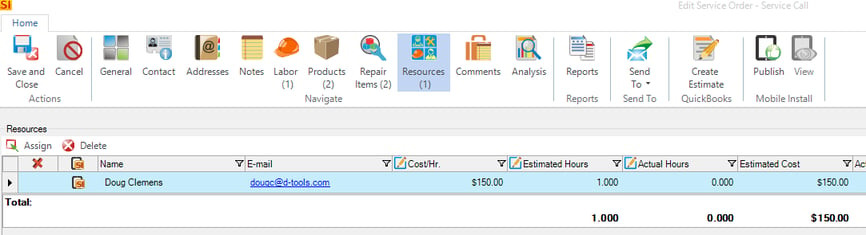
- Note – The Labor dollars and time duration can be assigned here just as in the Task Editor.
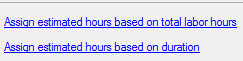 (bottom left corner of Resources tab)
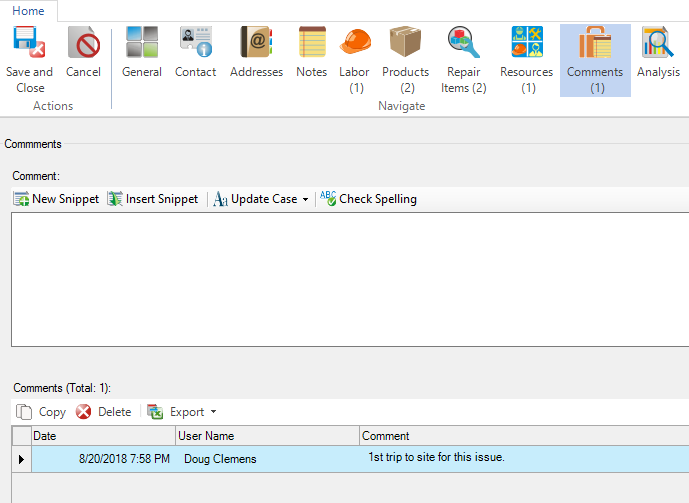
- Comments – A new area for Service Orders with the release of SI 2018. The “Comments” tab will enable those with access to the SI interface to leave a running log of notes pertinent to the Service Call.
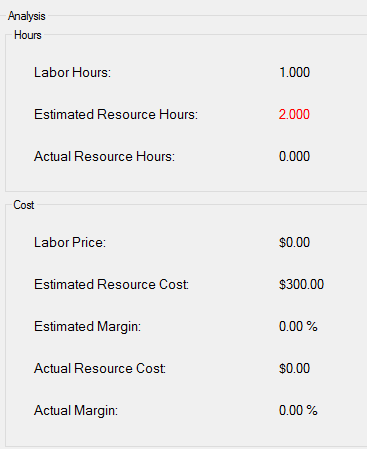
- Analysis & Reports – Both these tabs work just as they do in the Task generator within SI.
-The analysis will let you review the Hours and Cost parameters.
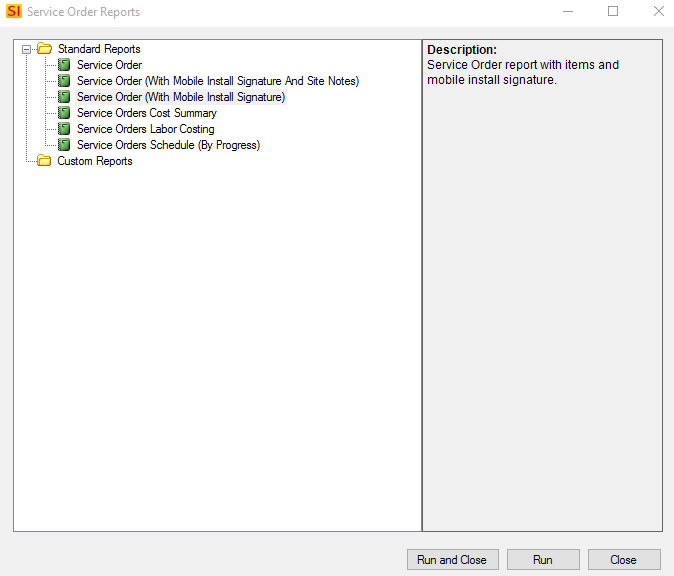
– Reports give you full access to all Service Order related reports in case you want to export any
of the data to another format (PDF, ETF, Excel, etc.) or print a copy for your records.
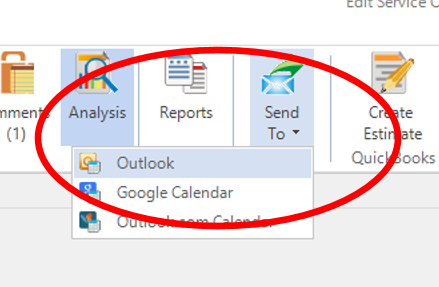
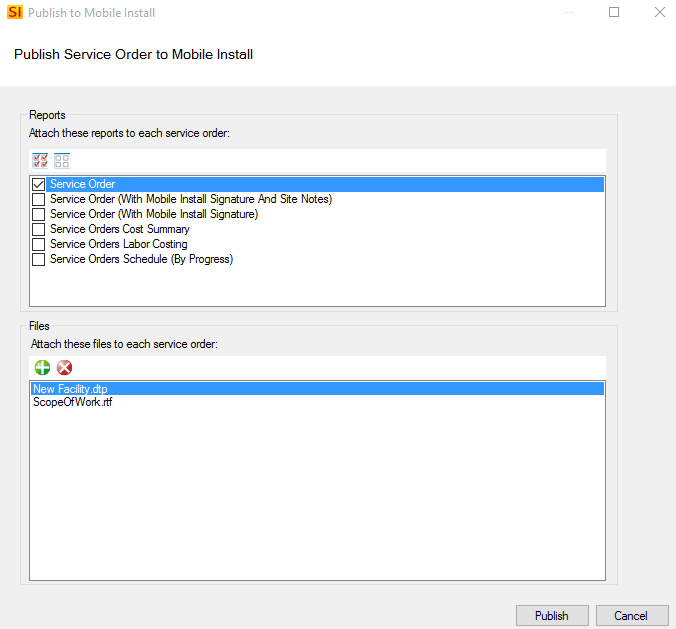
Now we’ve got the details updated, how to get this out to the team for dispatch to the site? Well just like the options in the SI Task Editor, you’ve got the same access here to email or publish the Service Order out to the SI Mobile Install* platform.
Remember, the “Publish” method will allow you to, not only attach a copy of the Service Order itself, but also any other pertinent files such as the prior Proposal or System Design so your team can have all the project’s details that they might need.
*Note – We’ll get you caught up on the details of the Mobile Installation platform in an upcoming blog.
No matter your preference for dissemination of the Service Order, once your team provides you with the updated and/or completed information, you can now proceed to update the Service Order itself for either the aforementioned “Be-back” or ever-sought-after “Completed” designation.
For the “Be-back” scenario, simply re-open the Service Order to update necessary details and send it out to your team again.
For the “Completed” scenario, you may need to deal with billing. If that is the case, you can first update the Service Order (or review the details provided by your field techs via the SI Mobile Install platform). Then you can run a Service Order report to email or deliver to your client. Or, you can transmit the Service Order over to Quickbooks as an Estimate and have your office team submit it to the client for billing.
While we’re not focusing on the Quickbooks interface per se here in this blog, I do want to mention that, as a recommended practice, you should only send the Service Order over to Quickbooks once it is completed (100%) and ready for billing. This way you’ll minimize the potential headache details for your accounting team that handles Quickbooks.
And that’s it. You’ve just been guided through the very easy process of creating a Service Order within SI.
This should get you and your team adequately prepared to review your current process in order to integrate the SI Service Order into your daily routine whether you’re using the SI Mobile Install platform or not.
This is what D-Tools and its feature set are striving to be – part of your everyday routines. We’ve got the software development and code, you’ve got the team and client details. It behooves you to leverage it accordingly so that your investment in SI 2018 has a maximum return.